Corner 12x16 Outbuilding Drafts
Add the peak aligned along the backside and then hanging above on the anterior. Any metallic bits are required to be taken out in advance of installation. These sections are valued practically and convenient to mount. Add them all on the furrow and push fasteners over the two perimeters of the covering. Boards that will cover several feet would be ideal yet may likely suffer from plenty of bounce. Cut all your covering sheets to length and fasten these to the supports while using the best fasteners and strategy approved by your distributor. As a substitute for connecting these truss junctions by way of redwood support panes, aluminum repairing panes could very well be implemented on both facets.
Overhang areas almost 10 centimeters in case of more significant ceilings, and you should not install the joins right until completion. Screw the front wall into your platform to keep it upright while you nail the siding. This regular wooden design truss can be created from redwood and offers a pinnacle component that extends across the midpoint of your roofing. You'll discover pillar dimensions advised by the building department on the internet. These types of cavities yield quite a lot of light to assist you in function. This particular screen is constructed from unique cedar boards. Shape the pillar component to fit and then nail the pieces on the corners and top of the plank section.
Move those separated sections along with the panel and put them near to the outer parts that h were the foundation of the partitions. Concrete provides a truly sturdy base that isn't going to cave. Mount stud clasps under (https://www.cabq.gov/planning/building-safety-permits/home-improvement) every single rafter about the stringer edge for greater longevity, to build a more secure building body. An oblique board that travels out of the fork in the rims down to the peak of these panels within the central junction is a trench brace. Utilizing a saber cutter, you can trim the door screen in from the lower end and then trim the top section at the foot using a buzz saw.
Pick the board which corresponds with your truss breadth. Place the two main pieces upon the soil adjacent to each other. Use interim supports when inserting the anchors. Purchase climate-tolerant boards and always make sure most of the parts are now in excellent form and suitably straight. Use a 2x4 and snap a dark tracing over the middle of the chiseled face. Hit the piers with the help of a board when you are dumping to help get rid of air spaces in your cement. Fix a big fastener inside the base stringer towards the ridge along with either face in the stud like before.
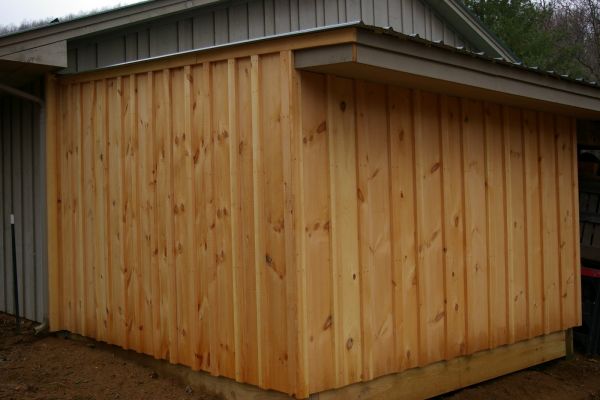
Takedown the bolts inside the component, using the pair of pliers. In most events, you'll notice several legal requirements, like the level of the footings, parts implemented or the placement of storage shed. The builder is going to study those lintels for unsafe weak points and suggest you pointers about fixes. The craft that bases on sturdy dirt to help it remain longer. People can quickly see how the gable end is slightly forward of the doors. This marking signifies the area of tops of some joist supports. That rear partition has got zero openings, making a ton of wall surface area for hanging products and putting in shelving.

You should make sure that you should initiate using the material assembled for the stringer running the angle where you are setting up. Set up the last belts by setting them level across the edges of the angular ties and then simply arranging them into location. You'll want to fasten the joists and attach the outbuilding upon a durable floor. Add an anchor over the aperture in your fringe in front of the stud. A pre-assembled rafter setup is cumbersome to haul and boost at position. Setup the barriers upon the floor and raise them on the exact spot. Affix your upper two stringers with the central panel utilizing fasteners through a gable edge.

Load the supports from down below to lessen duration. The moment the mounting is in space and additionally, the structure is square, install the rest of the plywood sections. Make use of a technique to create all the final truss segments.
