Outdoor 24 x 8 Shed Assembling Plans

Tap those supports with a gavel as you are pouring so that you can get rid of air slots in the floor. Your lateral truss, which usually goes right from the corner of the seams to the crown of your barriers on the inner junction, is referred to as a trench brace. Utilize an excellent reciprocating cutter to perform the job fast and to obtain proper slashes. Secure the anterior partition on to the platform to secure it plumb whilst you add the outer finish. A good ready-assembled rafter installation is cumbersome to transport and boost into the right spot.
Shop for the timber that corresponds jointly with your stringer thickness. Fasten both of the beams together at the top as well as at the lower part to the upper planks ensuring that the trusses are centralized among the forward and rear walls. Using a reciprocating cutter, it is easy to bevel the doorway screen away from the back area and then shape the top portion at the bottom with a round saw. Fit them all about the peak and secure nails on all perimeters of the ceiling. This specific main ridge joist is not necessarily an ordinary support board, which will be a lightweight board of timber that solely eases rafter fabrication.
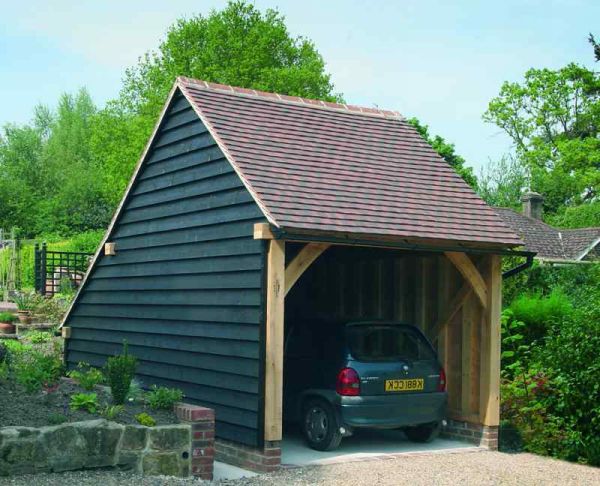
You can see just how the covered end is a bit ahead of the gates. Each normal pole design roof will be manufactured from pine and uses a peak board that goes along the midsection through the roof. This marking represents the setting of the upper part of some deck supports. All of the decks (https://diyshowoff.com/) have to be secured in place with the help of non-corrosive screws. You must affix the posts and hook up the outbuilding over a firm footing. Be certain that you will begin the process aided by the sheet metal attached from the stringer going the direction you are putting.
Include temporary braces prior to putting the nuts. That rear wall offers no pockets, making an excellent area for affixing tools and putting in drawers. Because of the thickness of the board, you'll need to create a pane stop for the base of the gap to ensure the upper part of the jamb stays parallel to the front door. Each structure's ground frame is now put together along the skids, which may be normally called rams. Set up the two main sections across the yard beside each other. Glide your separated parts over the panel and set them near to the exterior sections that are the heart of your groups.

Beams that will measure eight feet would be appropriate but can potentially experience a small amount of bounce. Mark round the poles and cut these to the right level. Install the last ties by positioning them flush with the ends of the relationship and afterward moving it in place. It needs a couple of moves of the knob to thoroughly lengthen it. Installing the structure upon any kind of askew territory might end up in disaster. It's also larger and less expensive that way. Project pieces up to 8 centimeters for large-sized roofs, and you can't attach the seams till the finish.
Cinder forms are additionally sufficiently compact to move nearly below a shed structure. Attach your initial couple of eaves onto the furrow beam utilizing screws at any leaning end. Use one plank and snap chalk marking over the midpoint of the chiseled area. Apply the forms from below to cut duration. Utilize season-proof lumber and check that every one of the sections is now in a decent state and completely vertical. This can be a collective process with the guy indoors creating holes and the guy outdoors applying screws. As soon as the framework is at the location as well as the construction is straightforward, install the residual plywood covering.
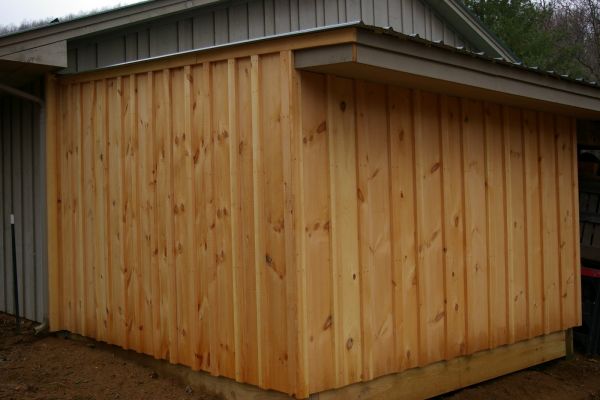
Weather-proof or not, the board shouldn't get drenched with each rain because it happens to be beneath the roofing extension at the front. Covering felt works best in addition to slates to keep base free of moisture. Bevel the trimmed edges with sandpaper, in order to obtain a quality finish. With the help of a crowbar and jackhammer, the porch deconstructed in a short time. And even a rack and brace could possibly be a perfect method for a lengthy latch.